Let’s face it, nail guns are a game-changer for any project, big or small. But like any powerful tool, they require a little know-how to use them effectively. One key factor that can make or break your project? Air pressure.
Think of air pressure as the engine driving your nail gun. Too little, and your nails will sputter or get stuck. Too much, and you risk damaging the material or even worse, creating a safety hazard. But don’t worry, this guide will untangle the mysteries of air pressure and nail guns, ensuring you achieve flawless nailing results every time.
Why Does Air Pressure Matter?
Air pressure is measured in PSI (pounds per square inch). Simply put, it’s the force that propels the nail out of the gun. The right PSI setting for your nail gun depends on two main things:
1. The Nail Gun Type
Just like tools have different jobs, nail guns come in various strengths. A framing nail gun tackling tough beams needs more muscle (higher PSI) than a delicate finish nailer for trim work.
2. The Nail Size
Imagine driving a tiny car versus a truck. The bigger the “engine” (PSI) needed, the bigger the “load” (nail size).
Understanding Your Nail Gun’s Needs:
While this guide gives you a general idea, there’s a golden rule: always refer to your nail gun’s manual. The manufacturer knows their tool best and will specify the exact PSI range for optimal performance and safety with your specific model and nail size.
How Much Air Pressure is Needed for Nail Gun?
The air pressure needed for a nail gun can vary depending on the type and model of the nail gun as well as the size and material of the nails being used.
- Light-duty nail guns (finish nailers): These workhorses for trim and furniture projects typically thrive between 70 psi and 90 psi.
- Medium-duty nail guns (brad nailers, roofing nailers): These all-rounders handle a variety of tasks and often operate in the 90 psi to 110 psi range.
- Heavy-duty nail guns (framing nailers): Built for muscle, framing nailers often require the most pressure, typically between 100 psi and 130 psi.
Setting the Right Air Pressure: A Crucial Step for Success
Different manufacturers and models may have specific recommendations for air pressure, so it’s essential to consult the user manual for accurate information. Generally, air pressure for nail guns is measured in pounds per square inch (PSI).
. Here’s a step-by-step guide to ensure that you’re on the right track:
- Reference the Manufacturer’s Guidelines: Start by consulting the user manual provided by the manufacturer. This invaluable resource will offer specific recommendations for air pressure settings based on your nail gun type.
- Trial and Adjustment: Perform a trial run on a scrap piece of material similar to what you’ll be working on. Adjust the air pressure gradually, observing how the nails interact with the material. The goal is to find the sweet spot where the nails penetrate without causing damage.
- Consider Material Density: Keep in mind that the density of the material you’re nailing also plays a role in determining the air pressure. Softer materials require less force, while denser materials may demand a slightly higher pressure.
Understanding the Relationship Between Nail Gun Types and Air Pressure
Nail guns come in various types, each designed to serve specific purposes and tasks. Let’s delve into the world of nail gun types and understand how air pressure requirements differ based on their unique functionalities.
1. Brad Nail Gun
The brad nail gun is a true workhorse when it comes to precision nailing for tasks such as attaching trim, molding, and finishing materials. Using slender 18-gauge nails, this nail gun excels in delicately securing these materials in place.
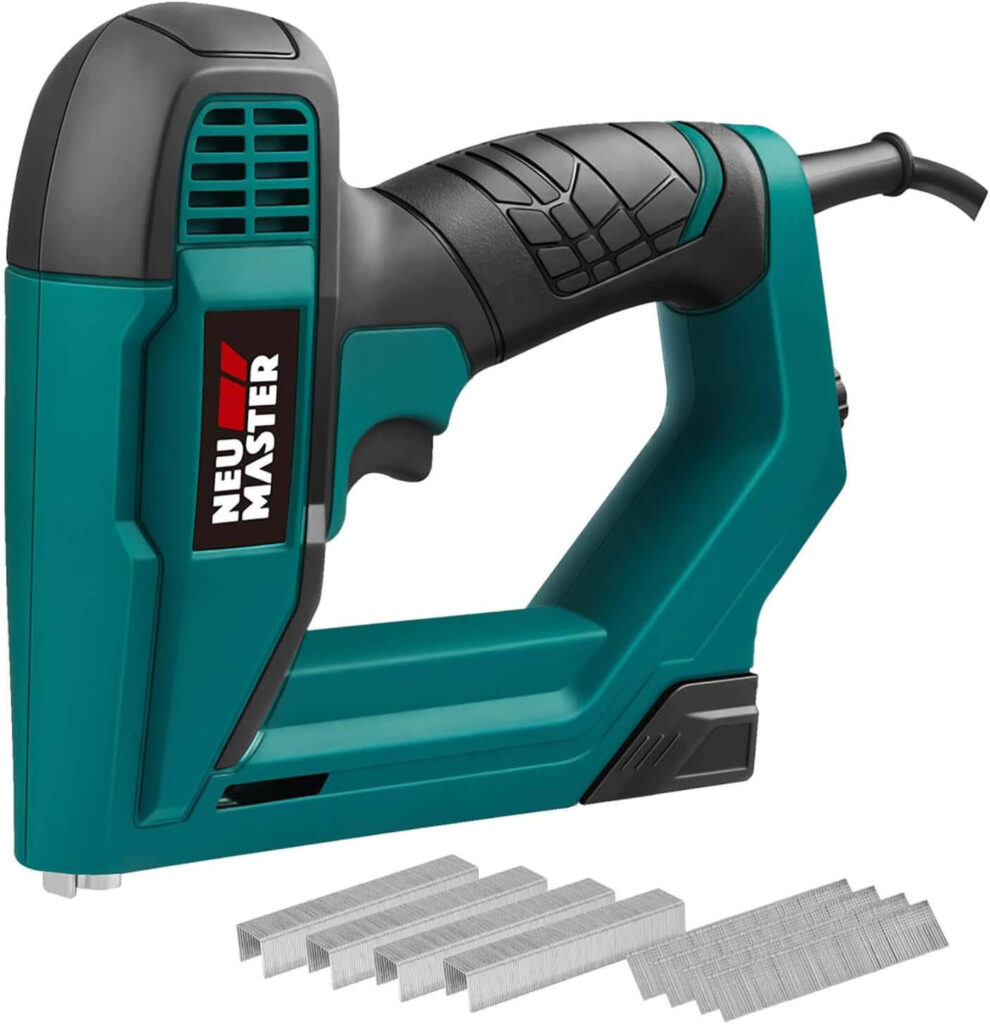
Due to its smaller size and lightweight nature, the air pressure requirement for a brad nail gun typically falls within the range of 70 to 100 PSI. This lower pressure ensures that the nails are driven with finesse, preventing any potential damage to the delicate materials.
2. Framing Nail Gun
In stark contrast, the framing nail gun is a heavyweight contender used for robust tasks like attaching framing members such as studs and joists. Employing more substantial 16-gauge nails, this nail gun demands a greater force to secure these structural elements effectively.
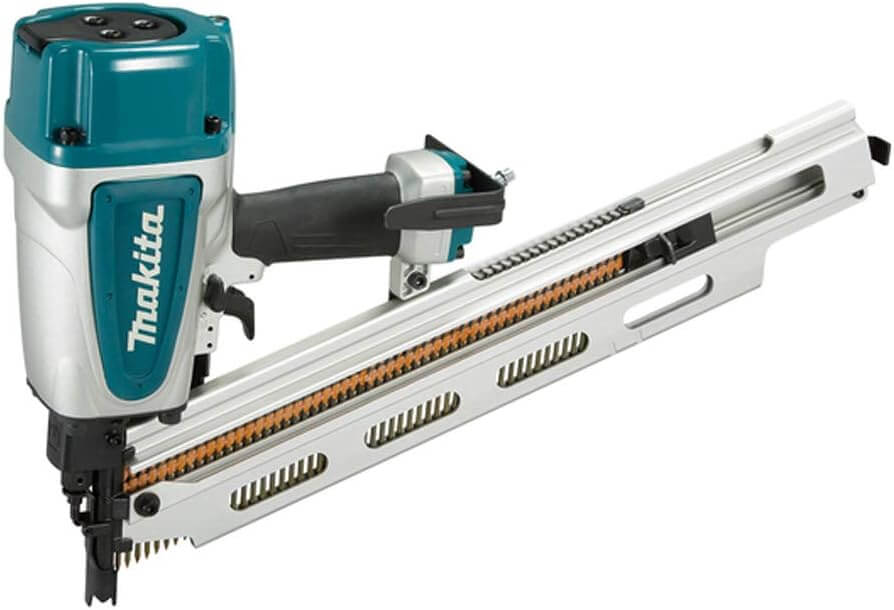
Consequently, the recommended air pressure for a framing nail gun generally lies between 90 to 130 PSI. This higher pressure ensures that the nails penetrate with power and stability, forming a solid foundation for your construction endeavors.
3. Pin Nail Gun
The pin nail gun takes us to the realm of delicate craftsmanship, where 23-gauge nails delicately attach materials like fabric and leather. Given its intricate purpose, this nail gun operates at the lowest air pressure requirement among its counterparts.
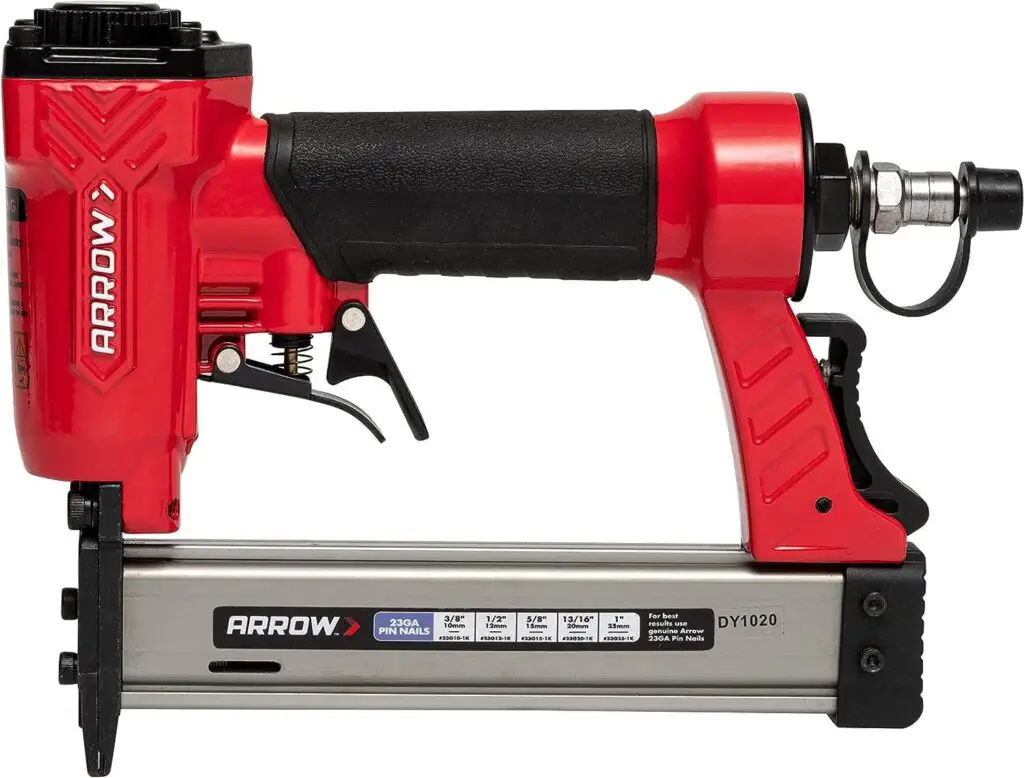
Typically ranging between 50 to 70 PSI, the air pressure ensures that the fine nails gently fasten the delicate materials without causing any undue harm.
4. Finish Nail Gun
When versatility is the key, the finish nail gun steps in with its capability to attach a diverse range of materials, including plywood, drywall, and roofing shingles, using sturdy 15-gauge nails.
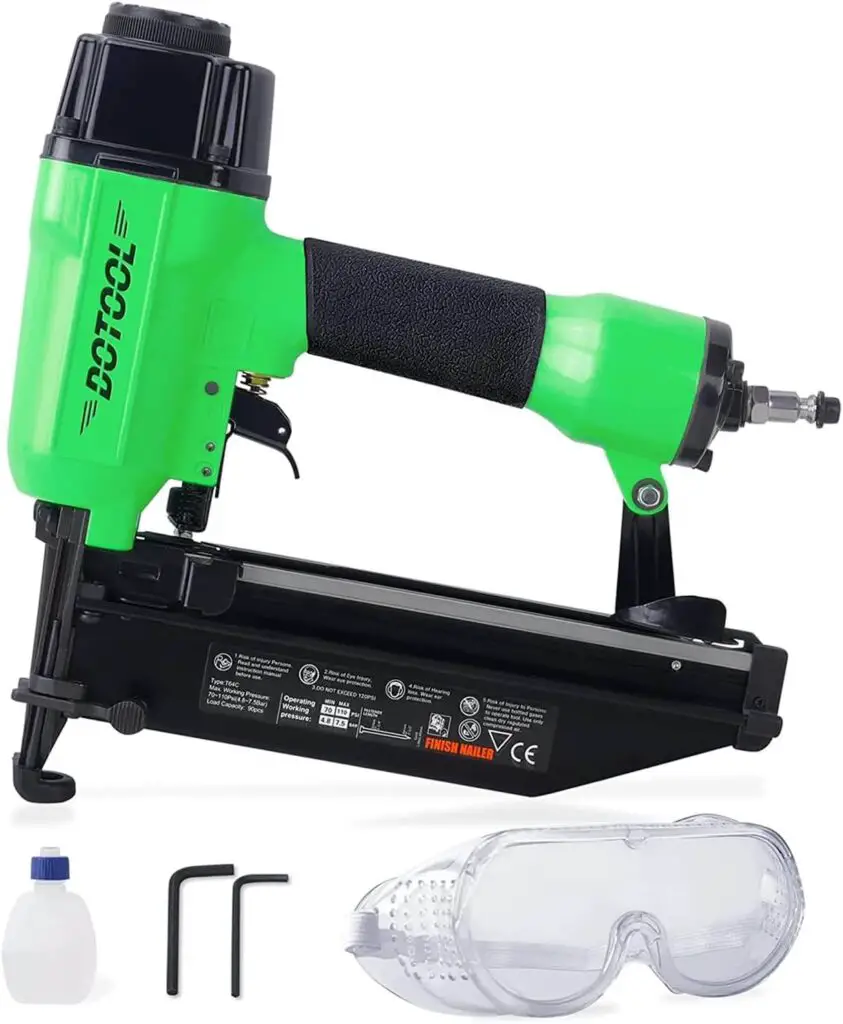
Striking a balance between power and finesse, the recommended air pressure for a finish nail gun hovers around 80 to 100 PSI. This moderate pressure setting ensures that the nails hold steadfastly while accommodating the various materials they encounter.
5. Siding Nail Gun
Lastly, the siding nail gun takes the spotlight when it comes to exterior siding materials like vinyl and wood siding. Operating with robust 18-gauge nails, this nail gun requires a substantial air pressure to drive the nails securely into the siding.
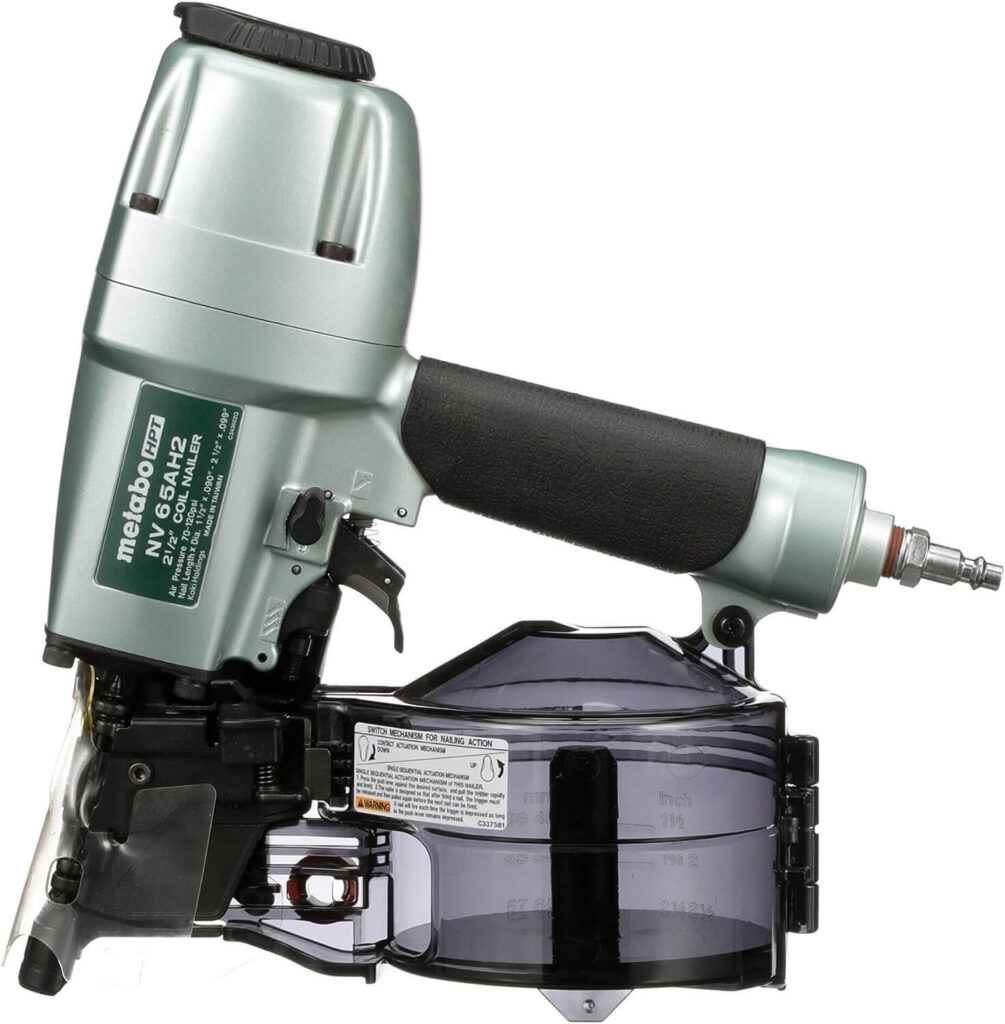
The recommended air pressure for a siding nail gun typically falls between 100 to 120 PSI, ensuring a strong attachment that can withstand the elements.
The Benefits of Proper Air Pressure
Using the appropriate air pressure for your nail gun yields a multitude of advantages, including:
- Precise Nailing: Achieving accurate and consistent nail placement, resulting in a professional finish.
- Material Preservation: Preventing unnecessary damage or splintering of delicate materials, enhancing the overall quality of your work.
- Time and Effort Savings: Minimizing the need for rework due to inaccurate nailing, ultimately saving you time, effort, and resources.
Conclusion
Air pressure is the secret sauce for your nail gun. Too little, and your nails sulk. Too much, and things get messy. Just like tools have different strengths, nail guns (think strong versus gentle) need different air pressure settings.
The good news? Your nail gun manual has the magic number for perfect nailing, every time. So ditch the guesswork, grab the manual, and get ready to impress with your pro-level nailing skills!
FAQs
Is there a universal air pressure setting for all nail guns?
No, the optimal air pressure varies based on factors like nail size, material, and nail gun type. Refer to your nail gun’s manual for specific recommendations.
Can I use maximum air pressure for all tasks?
Using maximum air pressure isn’t recommended as it can lead to overdriving nails and damaging the material. Follow manufacturer guidelines and adjust as needed.
What should I do if nails are not penetrating fully?
If nails aren’t penetrating fully, gradually increase the air pressure while testing on scrap material. Avoid sudden pressure spikes to prevent overdriving.
Can low air pressure cause jams?
Yes, low air pressure can cause nails to jam in the gun or not feed properly. Ensure you’re using the right pressure to prevent such issues.
Are there alternatives to air-powered nail guns?
Yes, battery-powered and cordless nail guns are alternatives to air-powered models. They have their own pressure requirements, so follow manufacturer instructions.
How often should I clean my nail gun?
Regular maintenance is key. Clean and lubricate your nail gun after each use or as recommended by the manufacturer to ensure optimal performance.


